Home-Grown Shiitake Mushrooms
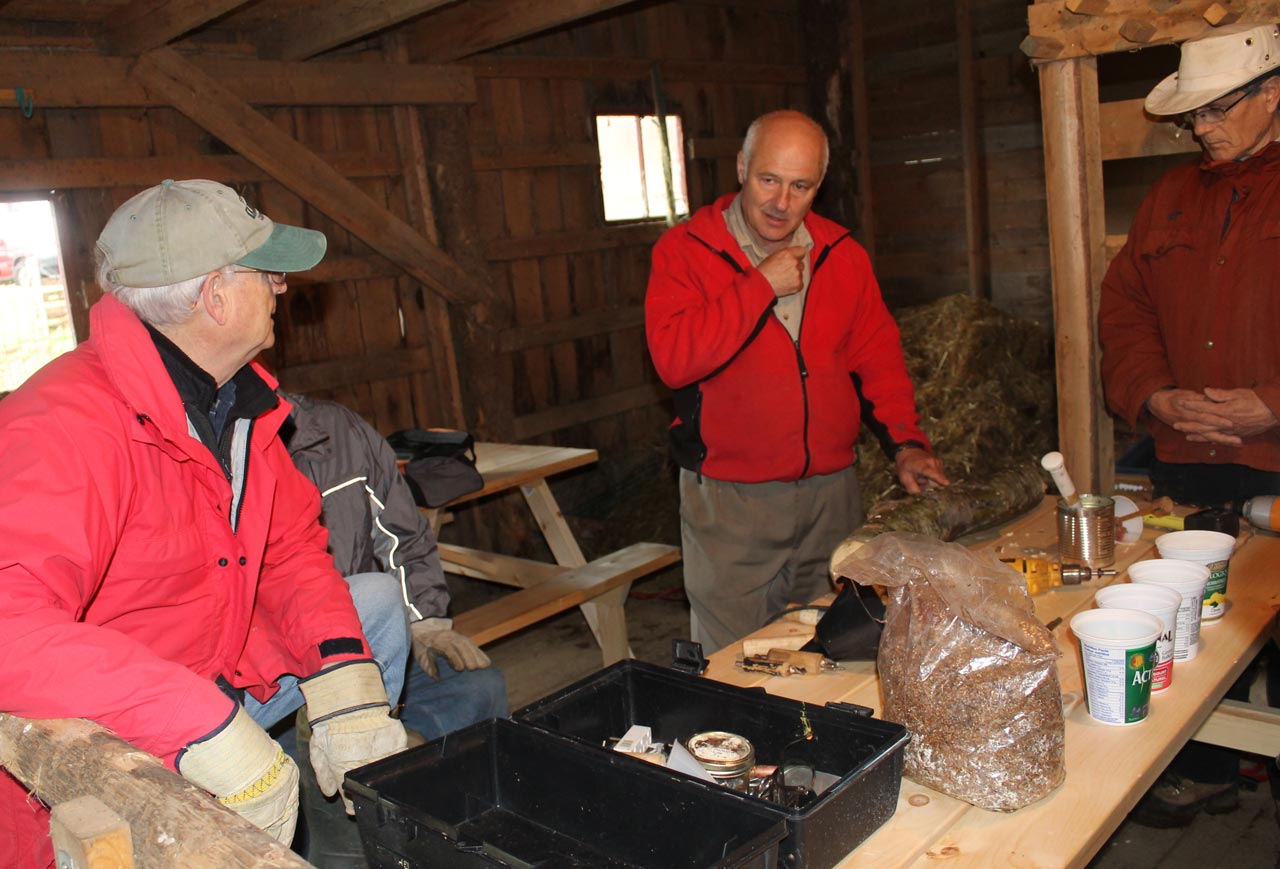
David Boyle of Maritime MicroBiologicals led us through the process, clearly explaining every step of the way. We began with a slide show to familiarize us with how mushrooms grow.
The button mushrooms commonly sold at stores, as well as the portobellos and cremini mushrooms, need special compost in order to grow, so it’s not practical to grow them at home.
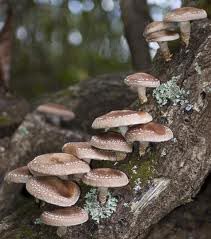
The mushroom species that grow on wood, however, are a different story. Shiitake, oyster and lions mane are just 3 of the species of delicious culinary mushrooms that can be grown in your yard on hardwood logs.
Even more, shiitakes have antiviral and immunity-boosting properties and can be used to fight viruses, lower cholesterol and regulate blood pressure.
What’s not to love, eh? Growing shiitakes is relatively easy, but it does require one to plan ahead. To begin, nearly a year before the mushrooms grow, a log is inoculated with mushroom spawn by drilling holes into a log, filling them with the spawn and then sealing them.
For the next 8-12 months, the log is left to sit in a moist and shady area. In the spring, the log is submerged in water for 2 days to “shock” the fungus into fruiting.
Anywhere from 4 to 14 days later the mushrooms will begin to appear and can soon be harvested.
There are no guarantees in life, though! Most successful mushroom growers have developed their own tricks through trial and error, but the basics are always the same.
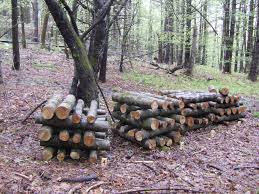
You want to make sure to select logs that are healthy, with the bark still intact and not already affected by insects or fungus. By using a healthy log, your own mushroom spawn won’t have to fight another fungus colony in the wood. It’s best to cut the logs in early spring once the sap starts running, but before leafing begins and to inoculate them within a week or so.
The length of the log is variable, from a couple of feet to four feet long and up to five inches in diameter. You will be moving the logs around, so you want a size you can easily handle.
A one metre long log will yield up to 4 pounds of mushrooms in one season and some logs will produce mushrooms for years.
We did learn that slugs adore mushrooms, so mushroom growers stack their logs to keep them up off the ground and away from the hungry slugs!
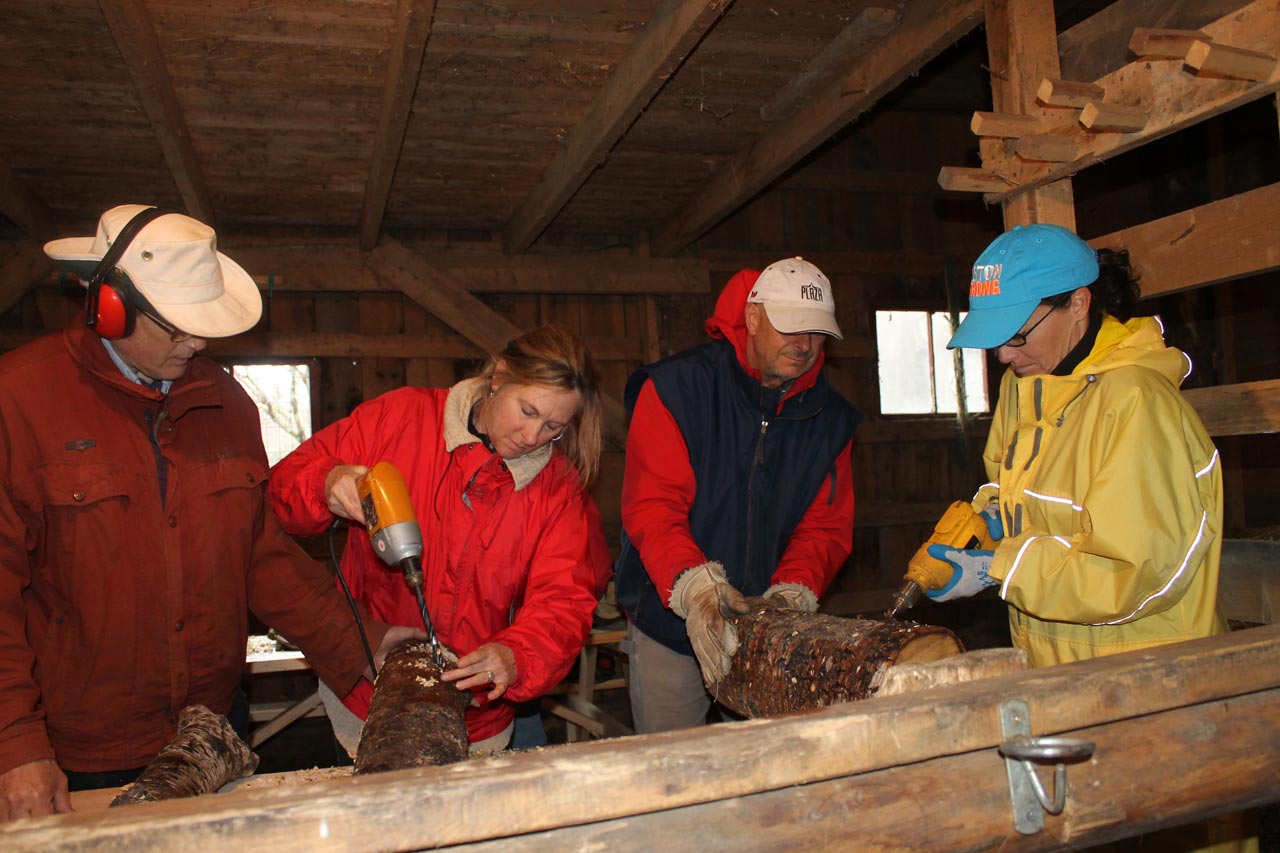
Then, we all gathered in the barn to handle the tools and logs ourselves. Using power corded drills, we drilled holes about 1” deep up and down and around the log. The more holes, the faster the log will be colonized, but it’s also a lot more work to drill and plug all those holes.
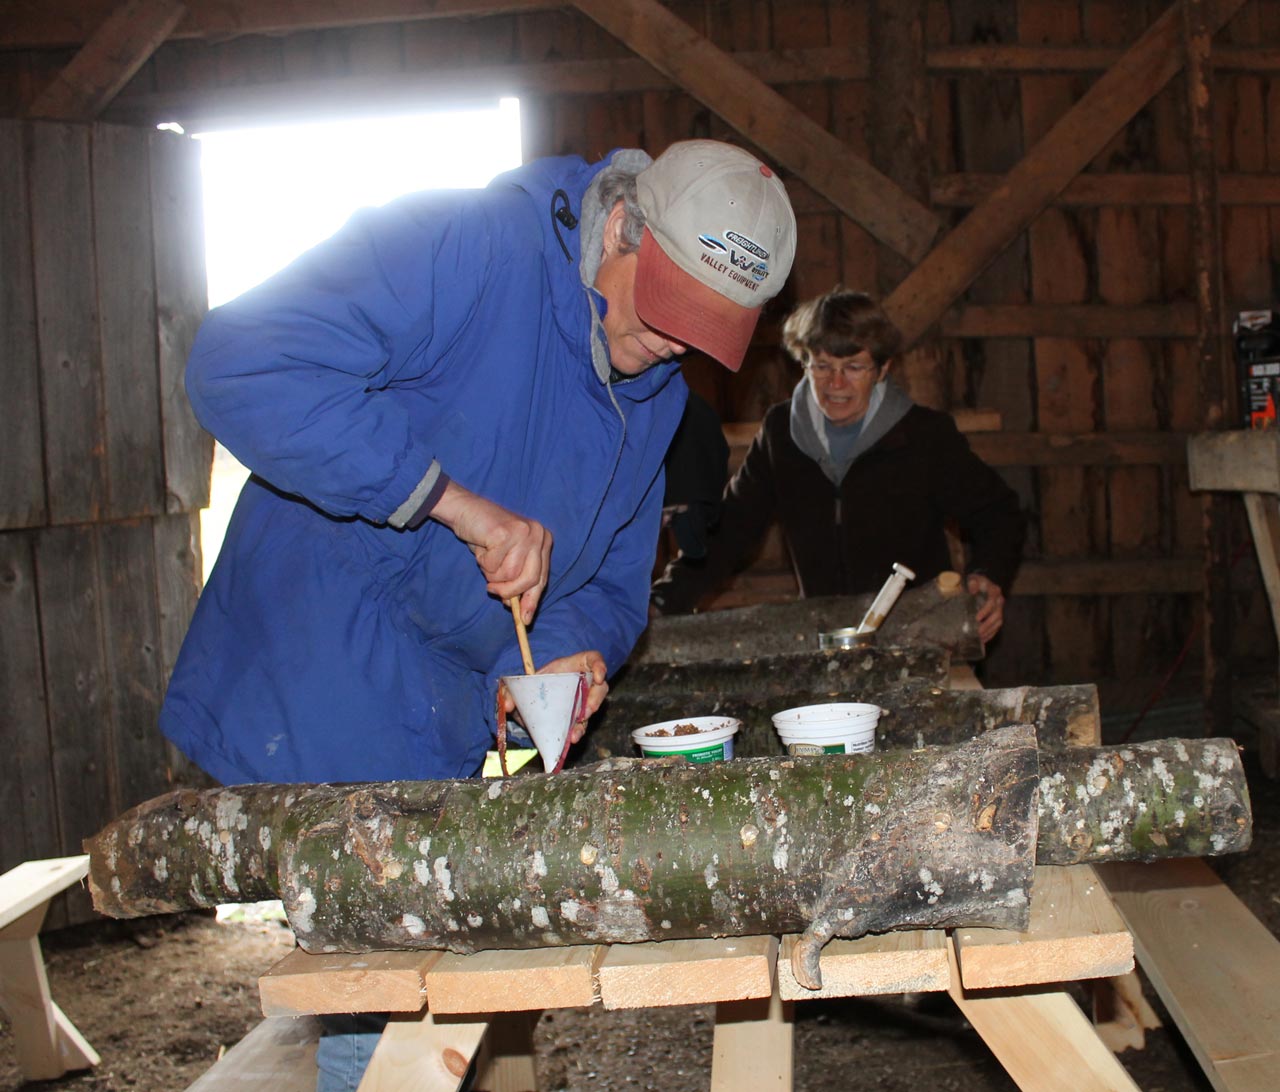
There are special gadgets made to insert spawn that you can buy, but a funnel and dowel work perfectly well, too. You moisten the spawn, put it into the funnel and then tamp it through into the hole using the dowel.
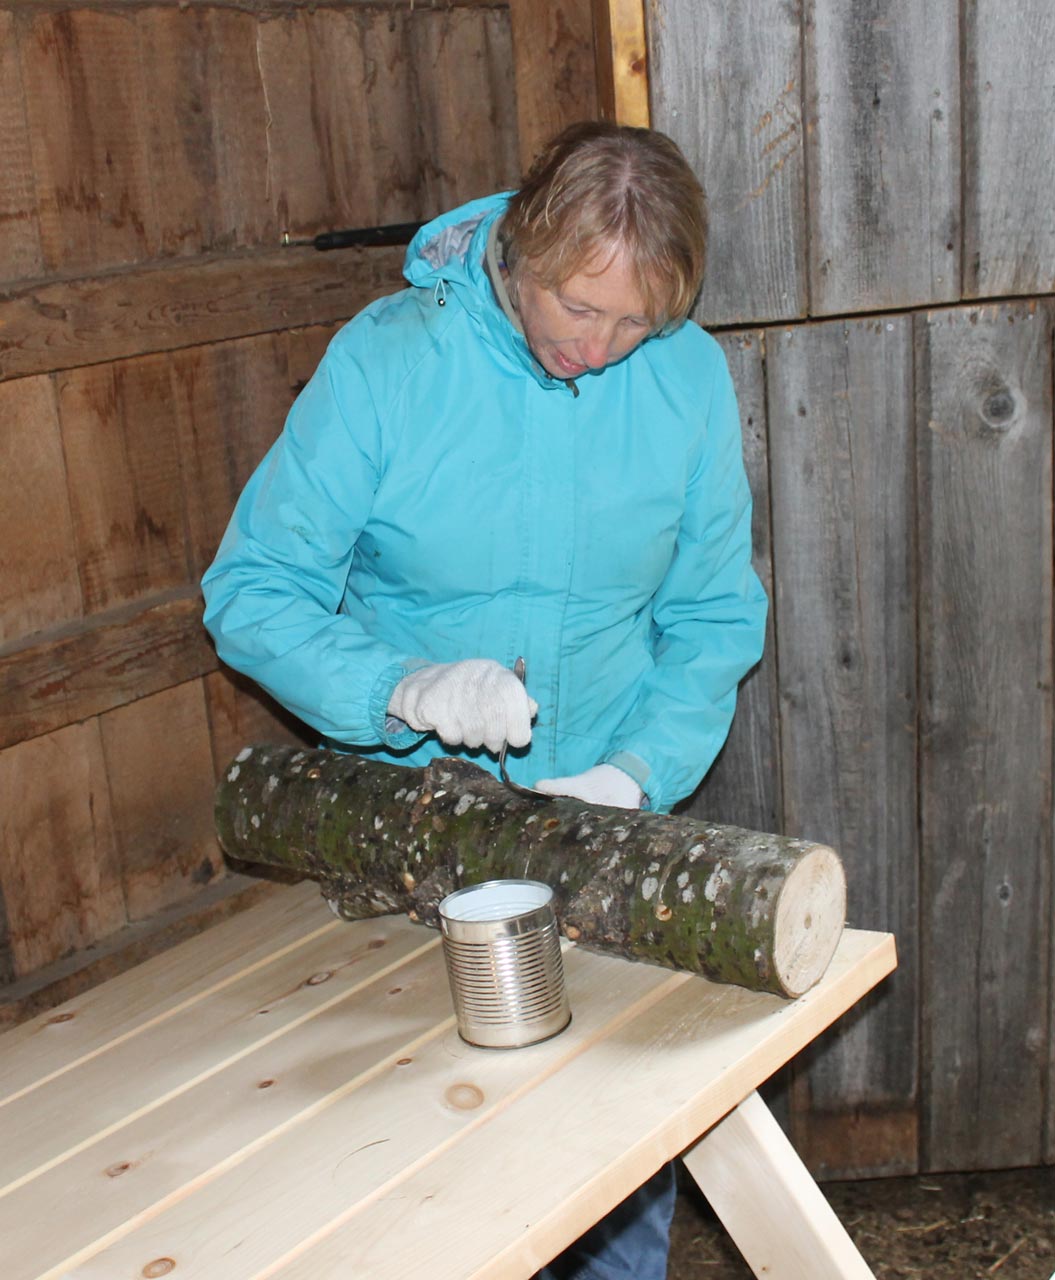
The spawn is grown on a sterile medium, and you want to keep it away from contamination so you will need to seal the spawn in the hole fairly quickly using melted wax. We used a mixture that contained beeswax, paraffin and a little mineral oil and used a regular teaspoon bent into a little ladle to pour the hot wax over the holes.
It was quite a group effort as some people drilled, and then handed on the logs to continue the process. Everyone left the workshop with their own inoculated log along with valuable knowledge.
There will be Mushroom Foraging workshop held later this fall at Falls Brook Centre to gather and learn about the different species of wild mushrooms that grow in New Brunswick.